

Showing posts with label bias. Show all posts
Showing posts with label bias. Show all posts
Saturday, 4 September 2010
Custom Dress #3
School started again this week, so I have had to prep for that rather than work on any projects. I have finally finished the toile/ muslin for the custom dress I am making, though. I am about to send this off to L, so that she can fit it and let me know what needs adapting. From the photos, I can already see the mid-section needs to be pulled in vertically at the the centre front to replicate the original. I'm so excited to see how this looks on a body- the mannequin really doesn't do the shape justice.

Sunday, 29 August 2010
Custom Dress #2
I decided to trial this in fabric, as the drapes work so much better than in paper. This is the bodice section. I still think it comes too low, so will raise the mid-section under the arm.
 The mid-section needed yo be cut on the bias to create better folds, so I cut this on the stand.
 This shows how I have raised the midsection:
 The original design has folds on the shoulder, so I have added extra fabric here to create this effect.
This is what the pattern looks like flat:


Sunday, 8 August 2010
How to make bias-binding
With this nifty little tool, that's how!
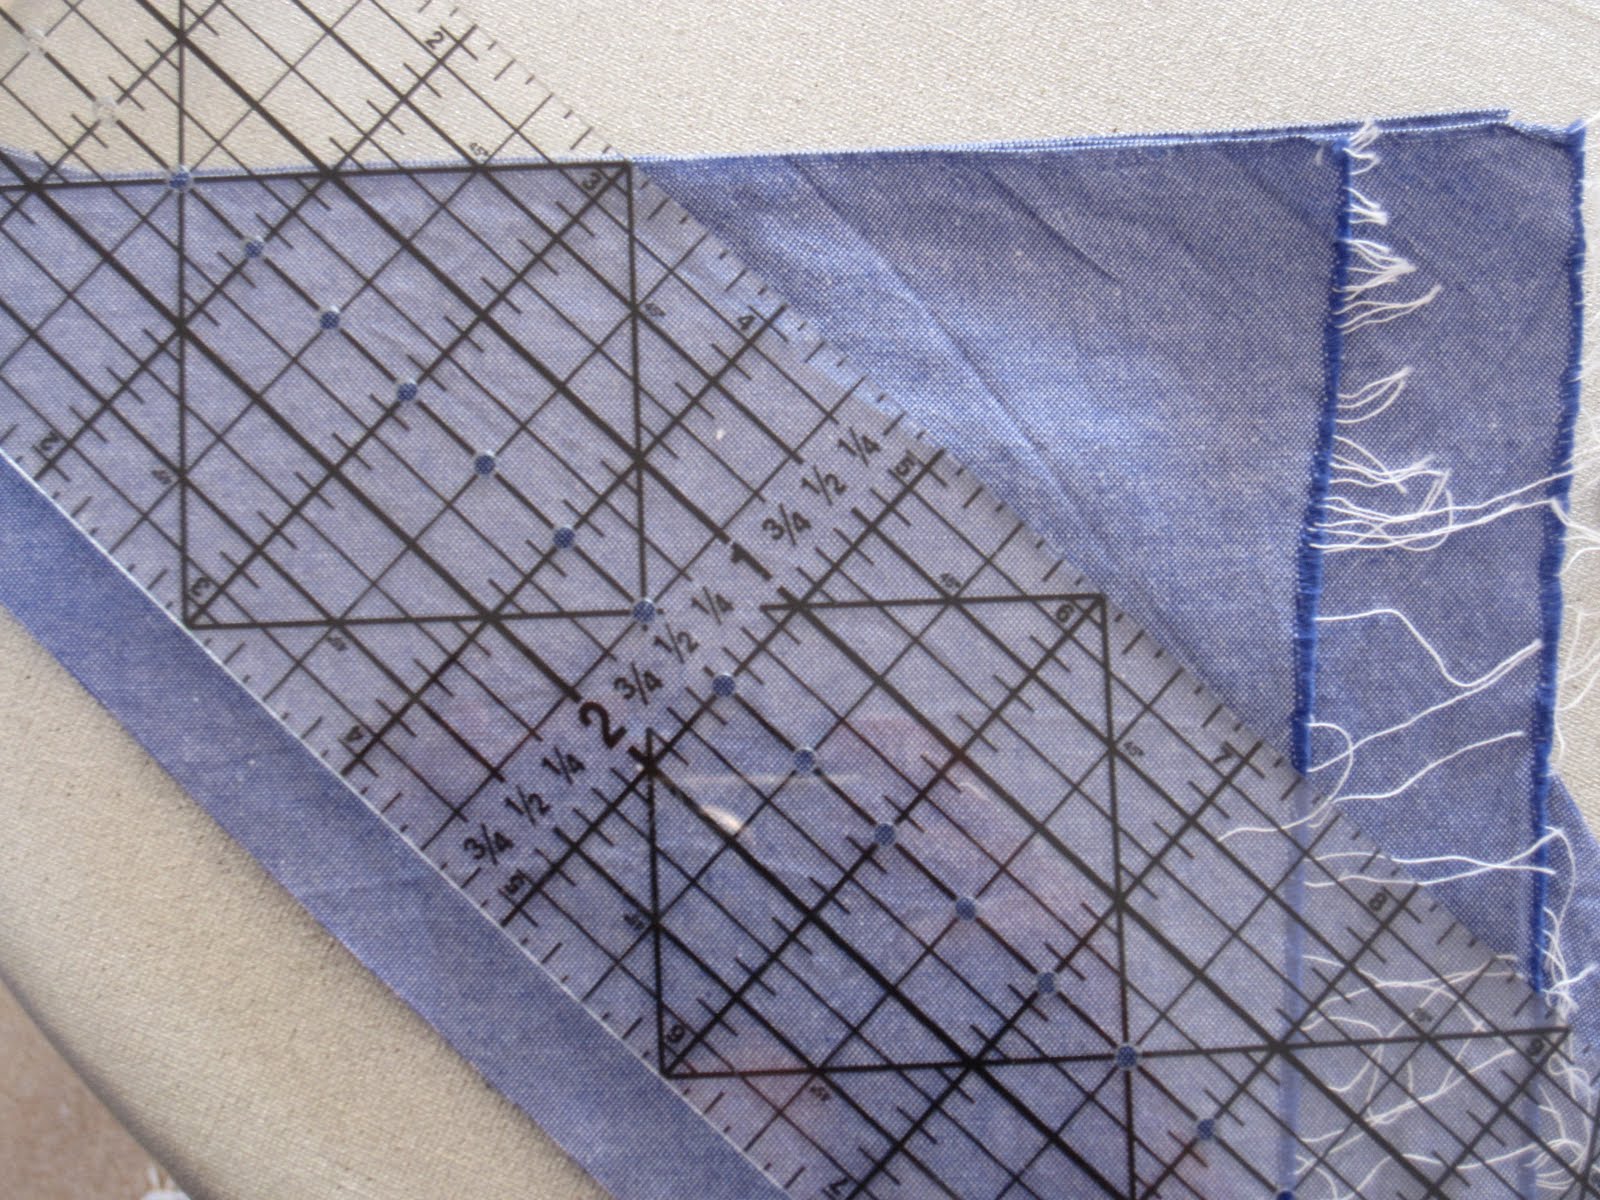
Firstly, you must ensure you have fabric cut on the true bias (diagonal across the grain of the fabric). This tool is for a 2 inch/ 25mm binding, so you need to cut strips double that width. I find a quilting rule/ guide idea for this (see photo below).

 Feed a bias strip through the tool and pin it to the ironing board. This may take practise, but... with your left hand pull the tool to the left as you press with the iron, moving it to the left also (vice versa for lefties).
 Ta da! Homemade bias binding! The beauty of making your own is that you can create it in any fabric, any colour, any width to suit your creations exactly.

 Feed a bias strip through the tool and pin it to the ironing board. This may take practise, but... with your left hand pull the tool to the left as you press with the iron, moving it to the left also (vice versa for lefties).
  Ta da! Homemade bias binding! The beauty of making your own is that you can create it in any fabric, any colour, any width to suit your creations exactly.
Subscribe to:
Posts (Atom)